Redact Documents in Studio Space in VIDIZMO
VIDIZMO provides flexible redaction options that balance automation with user control. You can perform document redaction directly within Studio Space this includes:
-
Text selection and bounding boxes: Available for editable documents.
-
Auto Detection: Works with both editable and non-editable documents.
-
Custom patterns: Applicable to editable documents and non-editable documents with OCR-generated text.
To learn about key concepts and use cases, see: Understanding Document Redaction.
This article provides a step-by-step guide to help you redact documents using Studio Space.
Prerequisites
- You must belong to a group that has Redaction feature permissions.
- To upload documents, you need the Document feature.
- Make sure the VIDIZMO Indexer apps is enabled and configured before uploading documents.
Redaction using Studio
Open a document in Studio for a granular view. You can combine manual selections, keyword/pattern search, and Auto detections. Studio shows all available insights (PII, OCR text, detected objects), lets you pick exactly what to redact, and supports applying FOIA codes (if your account has that feature).
After you finish selecting items, you can Redact (override the existing file) or Redact as new (create a redacted copy).
Open Document in Studio
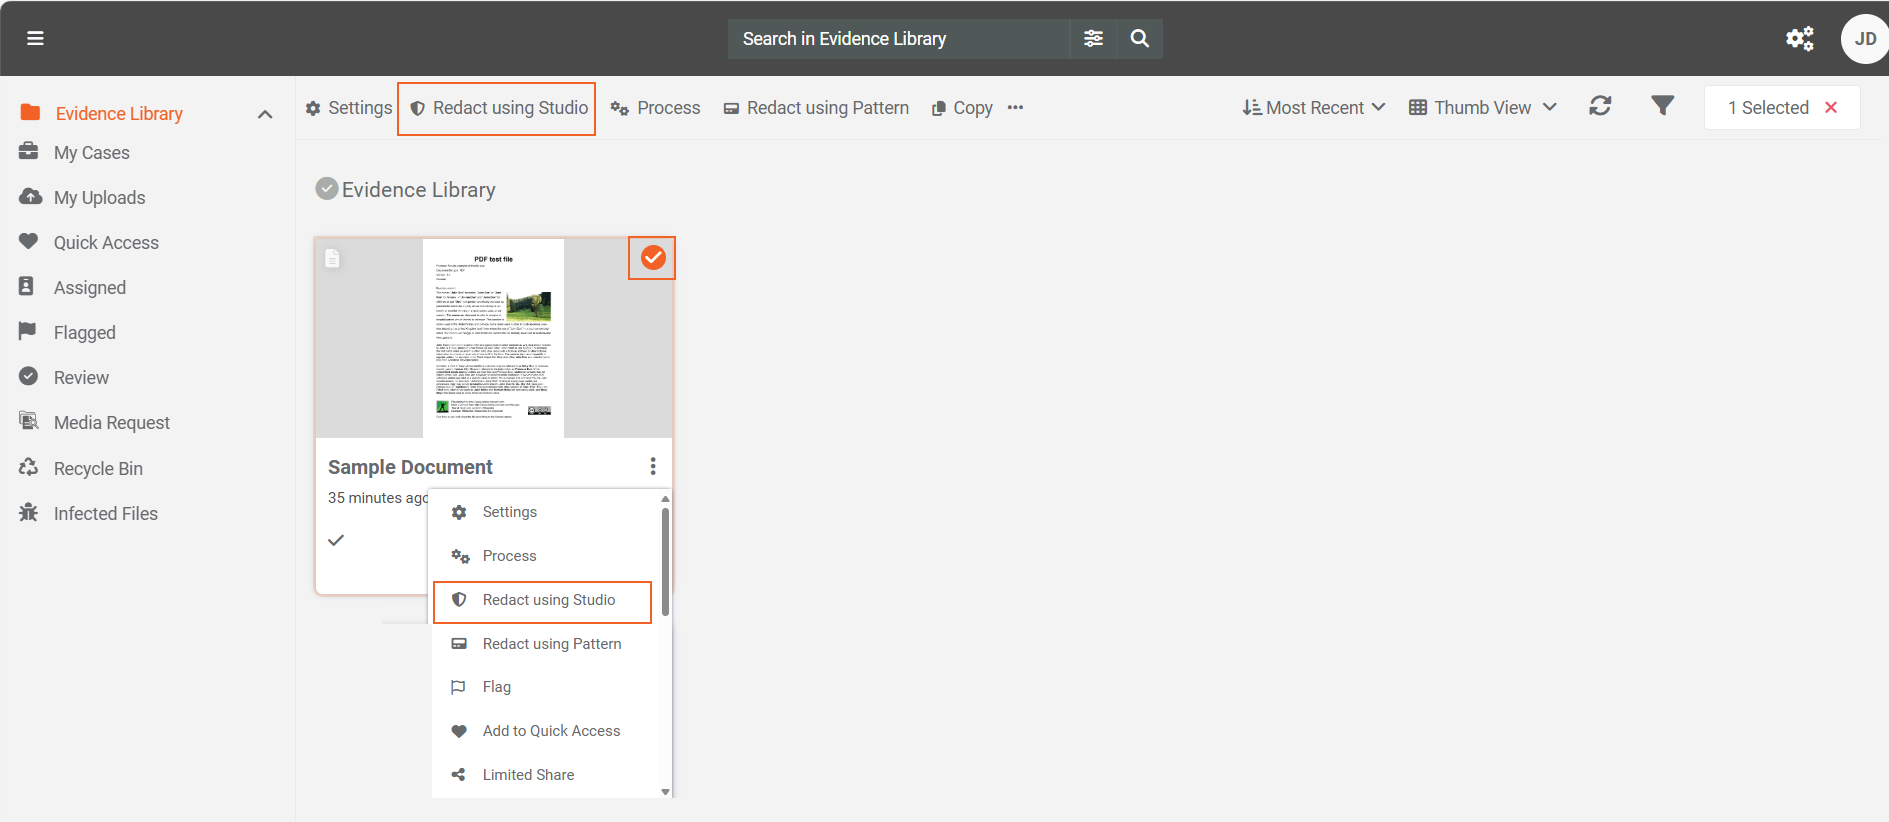
In the Library, open the document’s overflow menu, and then select Redact using Studio. The document opens in Studio.
Alternatively, select the document, and then choose Redact using Studio from the header.
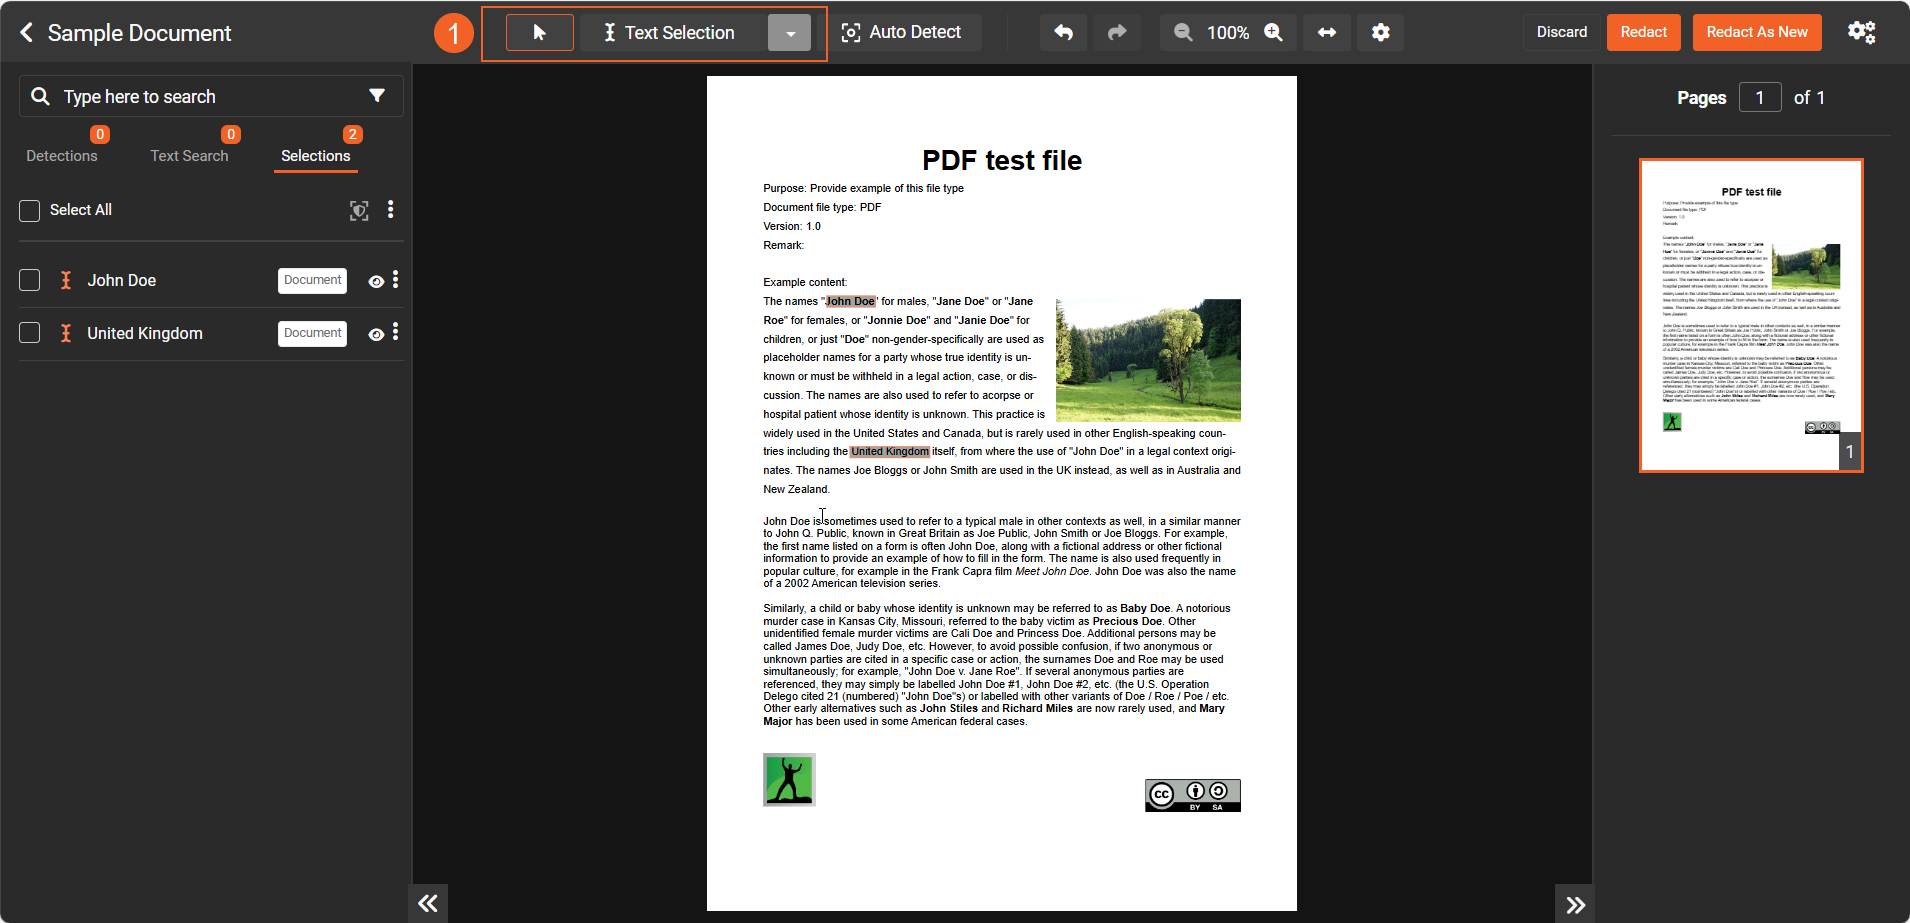
Manually redact selectable text in Studio
- To manually pick text, select Text selection on the Studio toolbar and drag to highlight content.
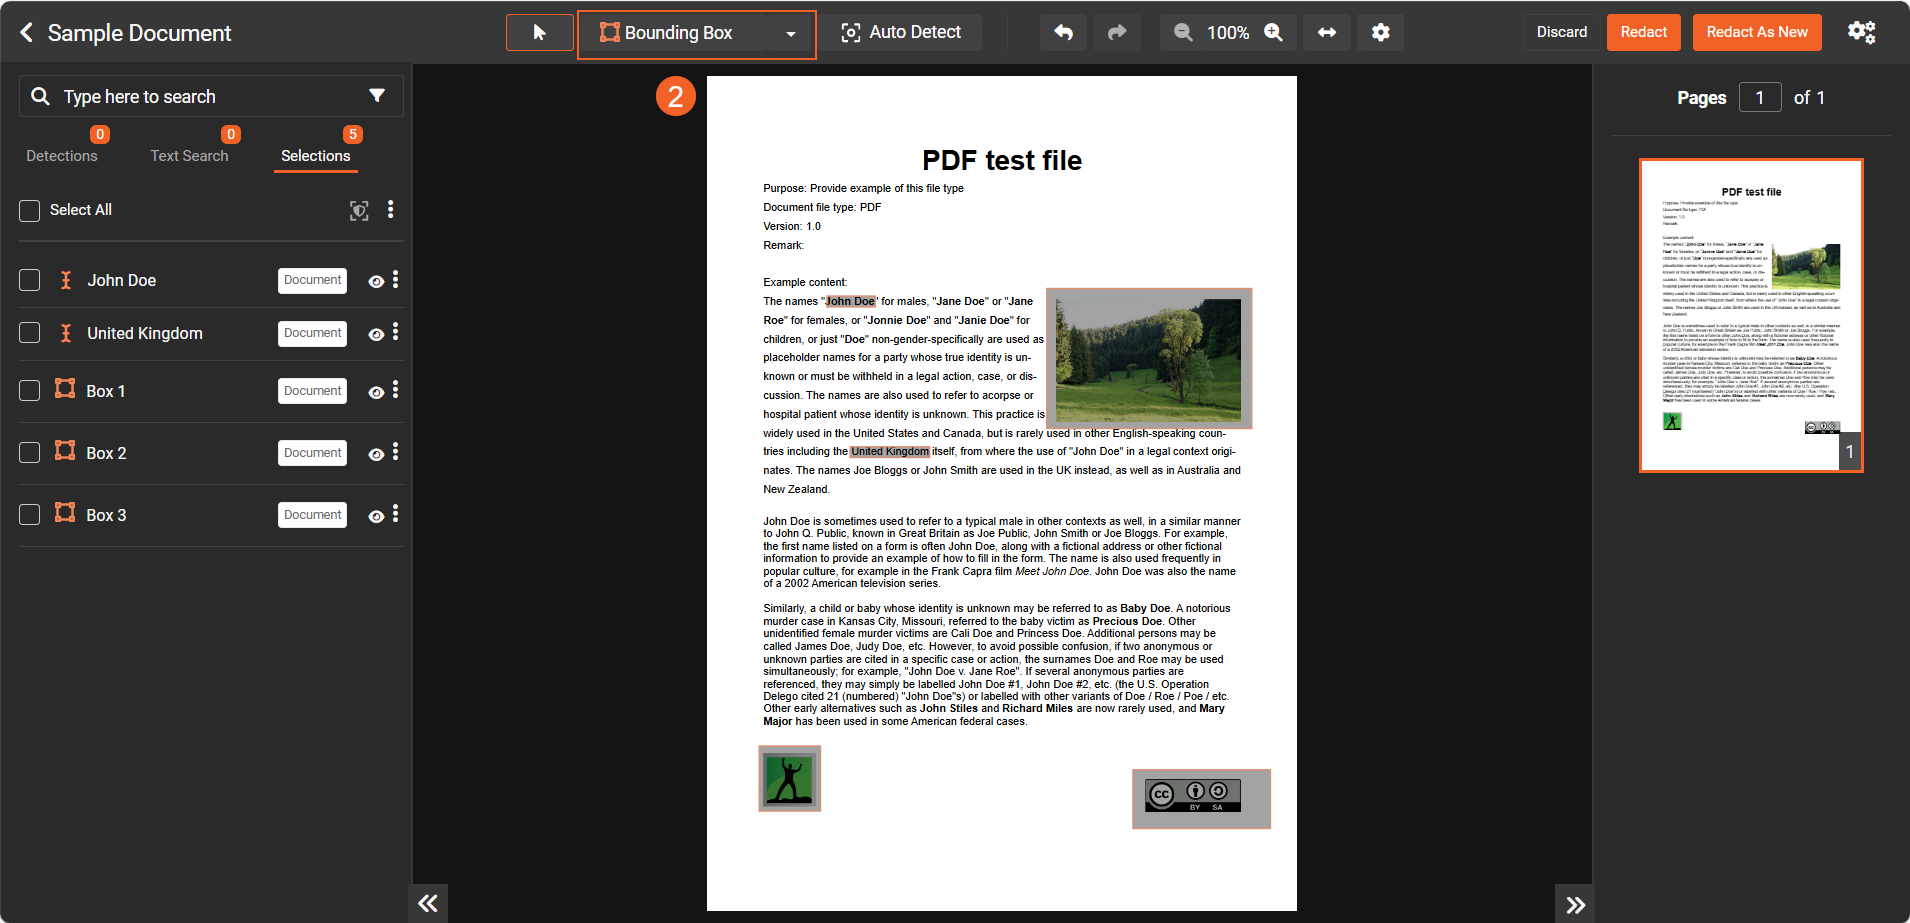
- To redact areas that aren’t recognized as text (for example, signatures or stamps), choose Bounding box and draw boxes over the regions you want to redact.
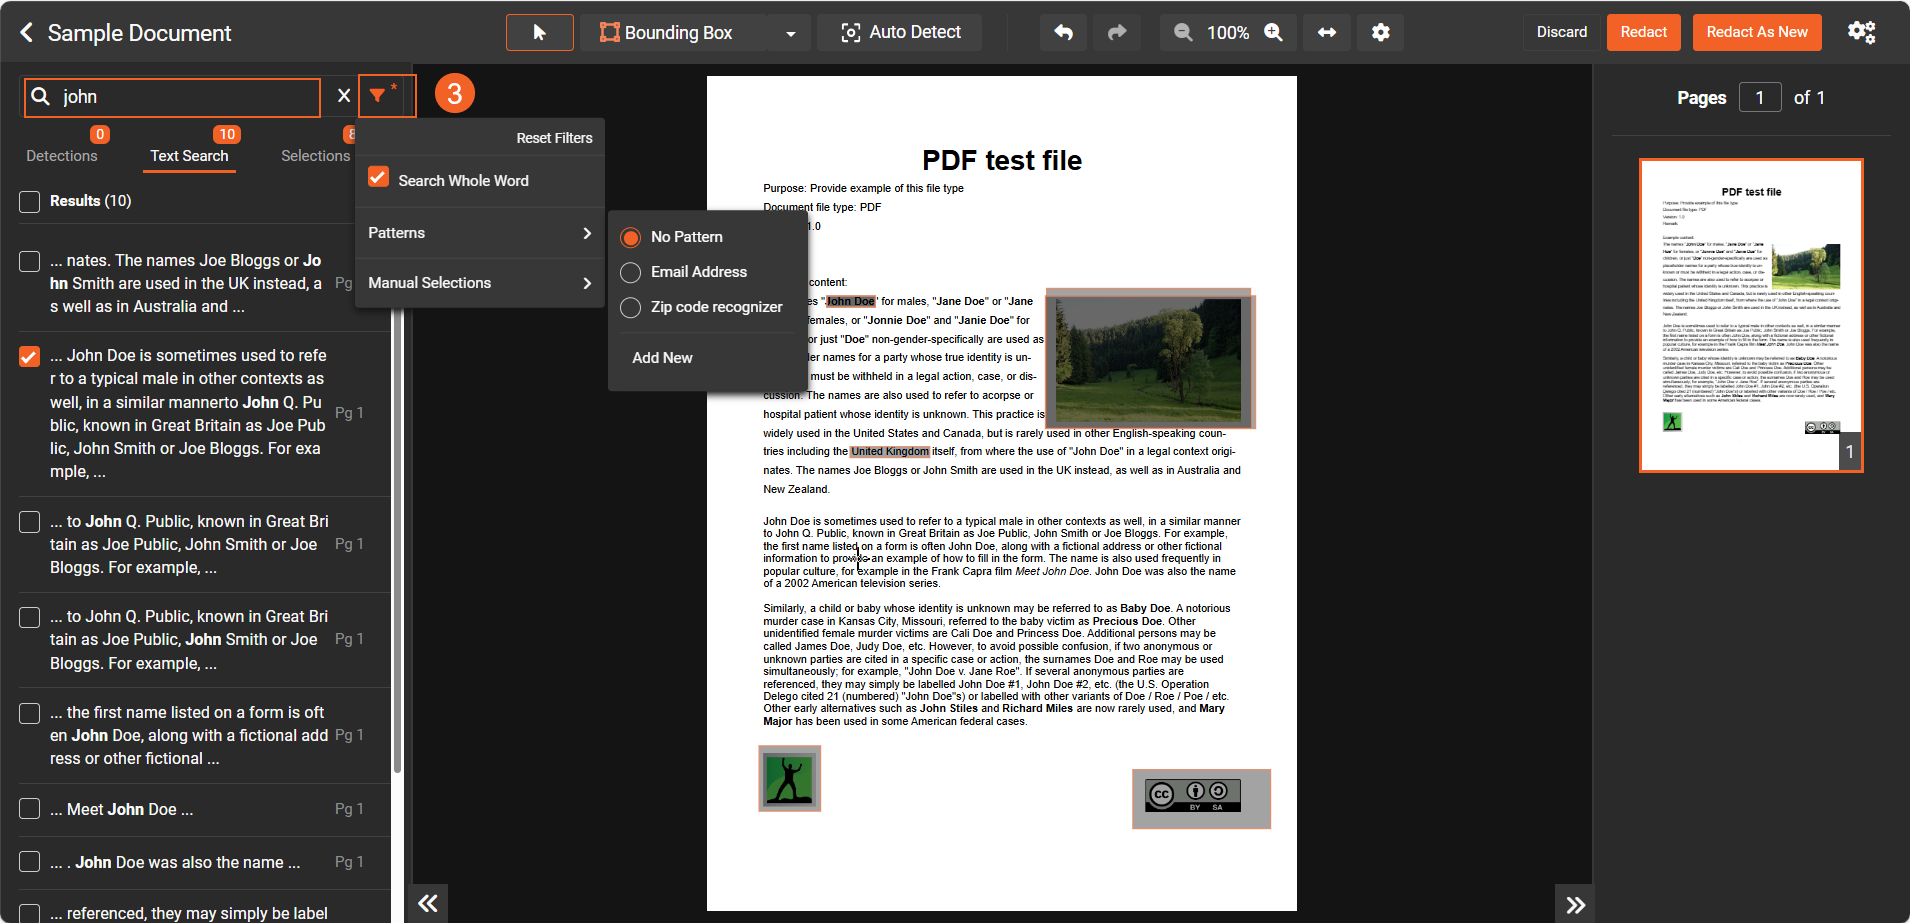
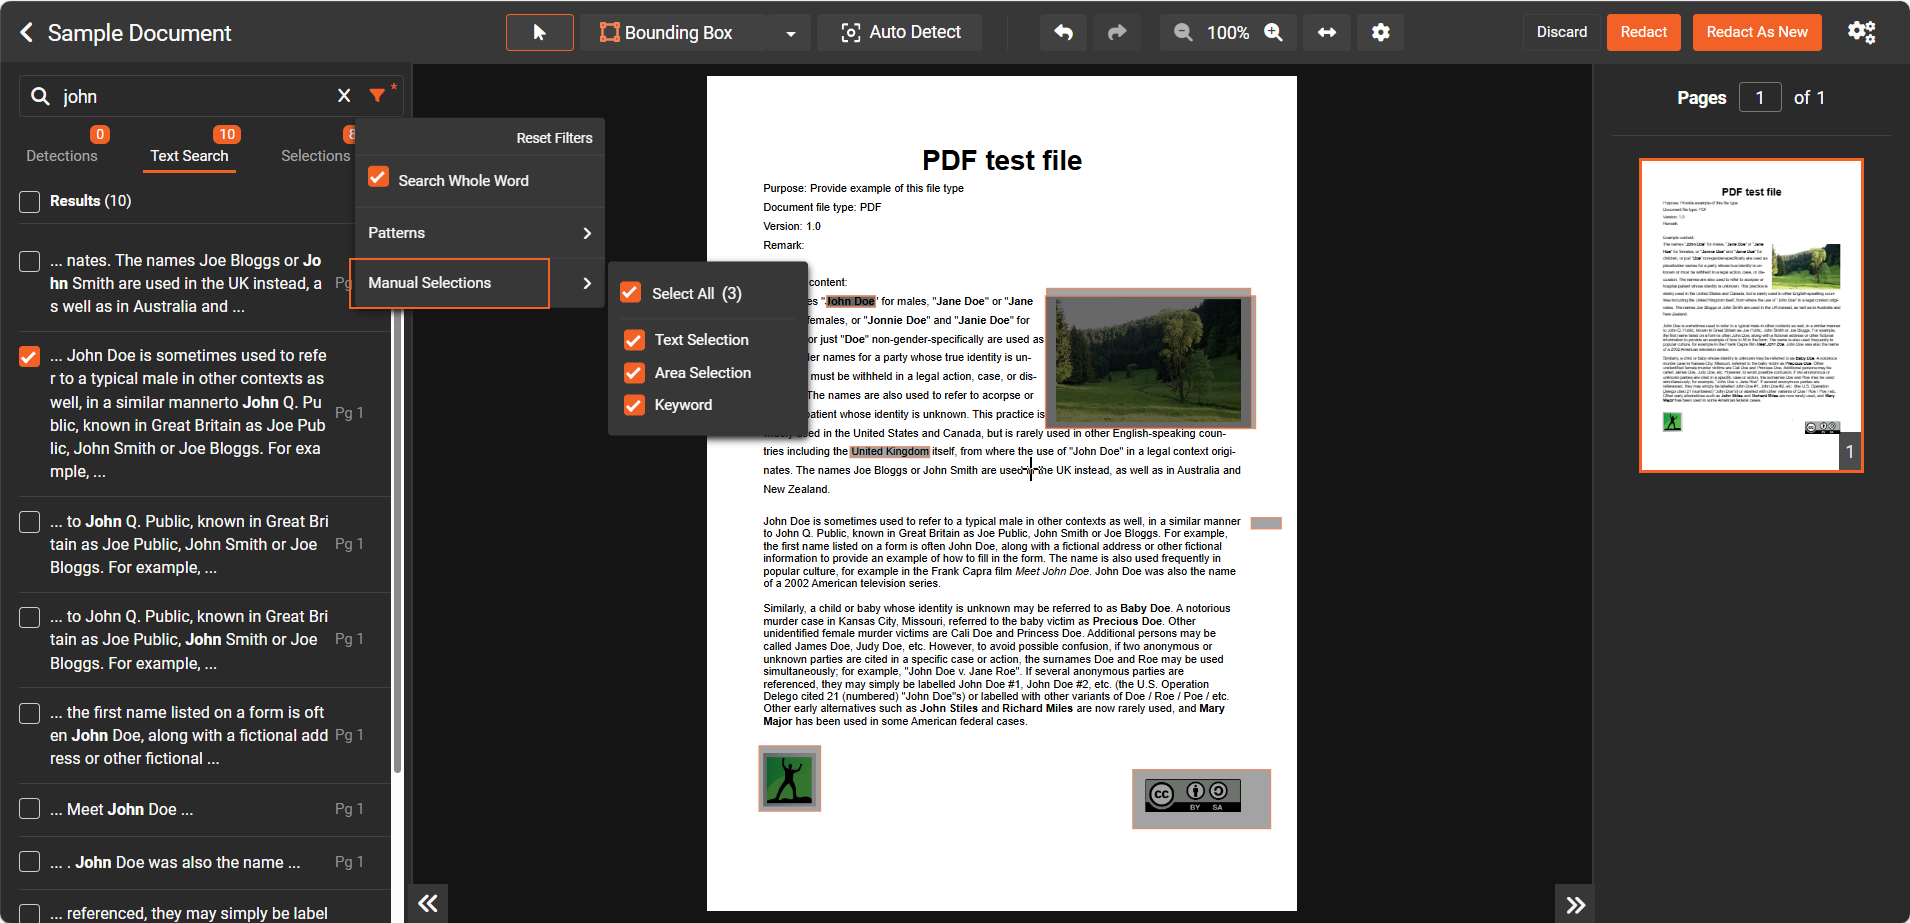
- To find and select text in bulk, use Text search in the left pane.
-
Enter a keyword in the search bar.
-
Open Filter, and then turn on Search whole word to narrow results.
-
To clear filters, select Reset filter.
-
In Filter, expand Patterns (Optional), and then:
- Select one or more Custom Patterns to detect structured text (for example, email addresses or Social Security numbers).
- Choose No pattern to disable pattern detection.
- Select Add new to create a custom pattern (this opens Add Custom Patterns tab in Studio Space).
- In Filter, expand Manual selection options, and then include:
- Text selection: Finds results within highlighted text.
- Area selection: Finds results within bounding boxes.
- Keyword: Filters results to show selected keywords.
These options help you narrow the search results to the selections you’ve already made.
Note: Patterns require selectable text. If the document is scanned or image-only, generate OCR before applying patterns.
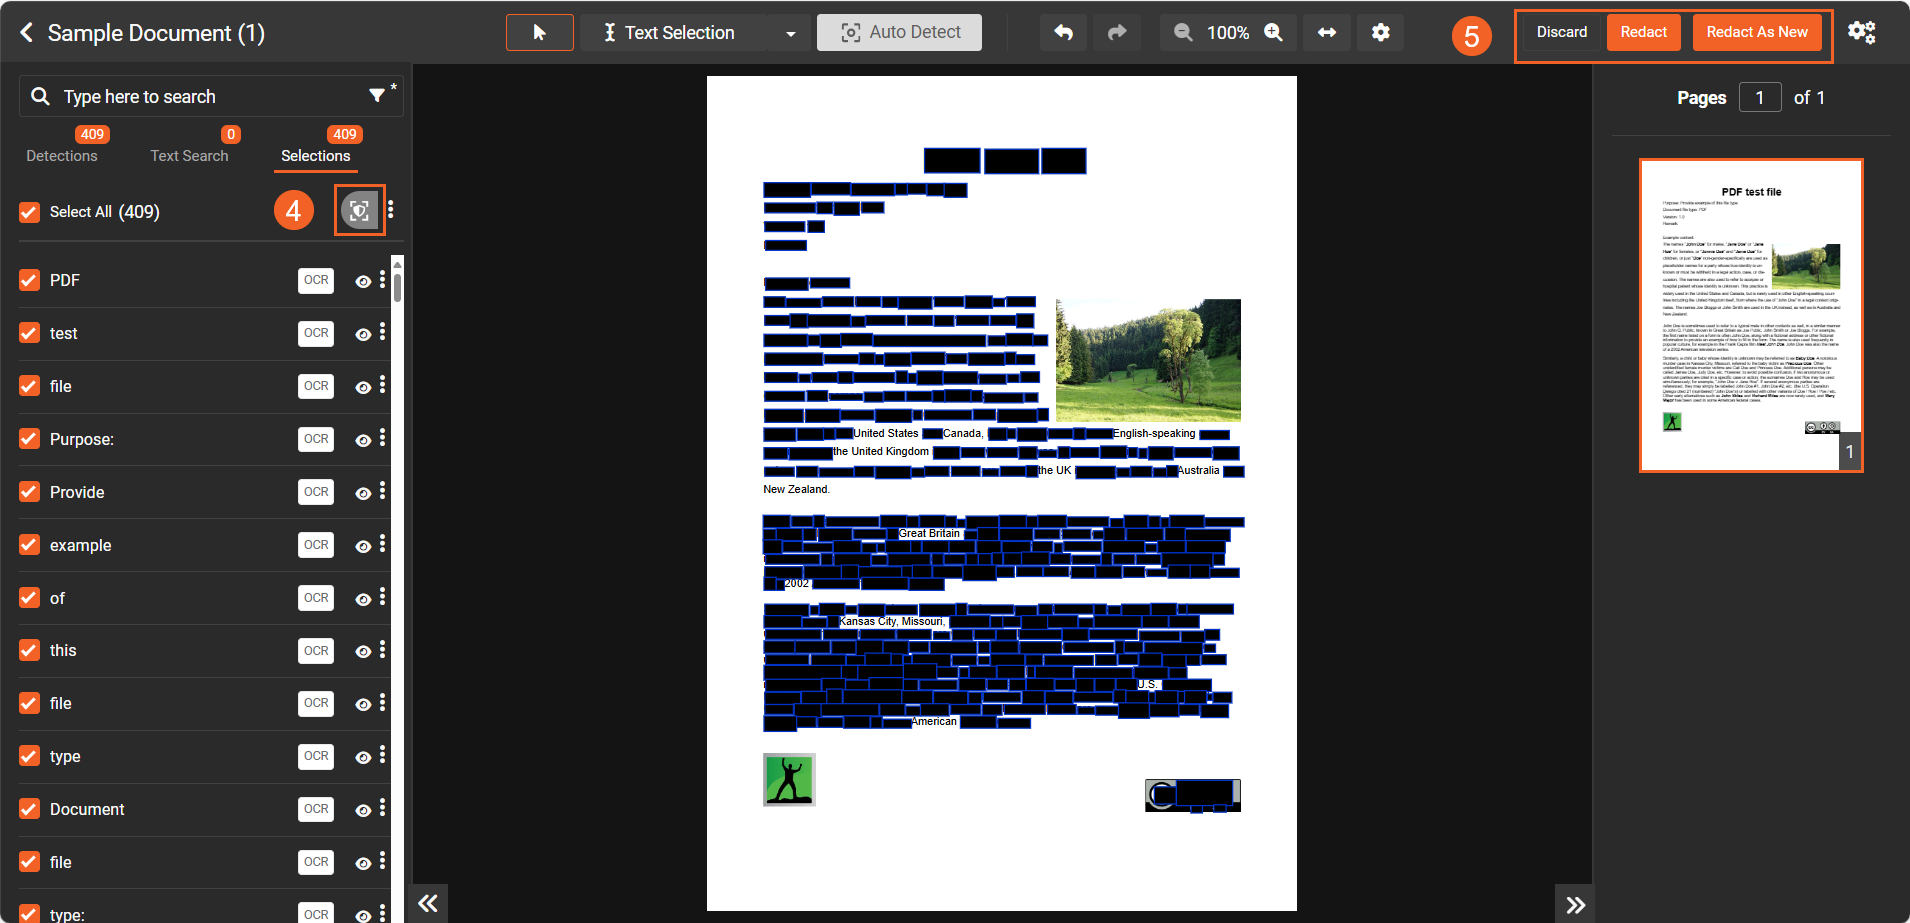
- Review your selections on the Selections tab.Select All items or manually choose the specific content you want to redact.
- (Optional) Apply FOIA codes to selections if available. For more information, see Apply FOIA codes during redaction.
-
Click the Redact icon to preview how the selected items will appear when redacted in the document.
-
Select Redact to overwrite the file, or choose Redact as new to create a redacted copy.

Note: If you prefer not to manually redact selectable text, you can use the Auto-Detect and Redact option. This feature automatically identifies and redacts sensitive information in selectable text files. However, ensure that the VIDIZMO Indexer apps are enabled in VIDIZMO for automatic detection to work properly.
Automatically redact non-selectable text in Studio
If the uploaded document contains non-selectable text, or if you want to automatically detect items such as personally identifiable information (PII), text from images (OCR), or objects, make sure the appropriate VIDIZMO Indexer apps are enabled.
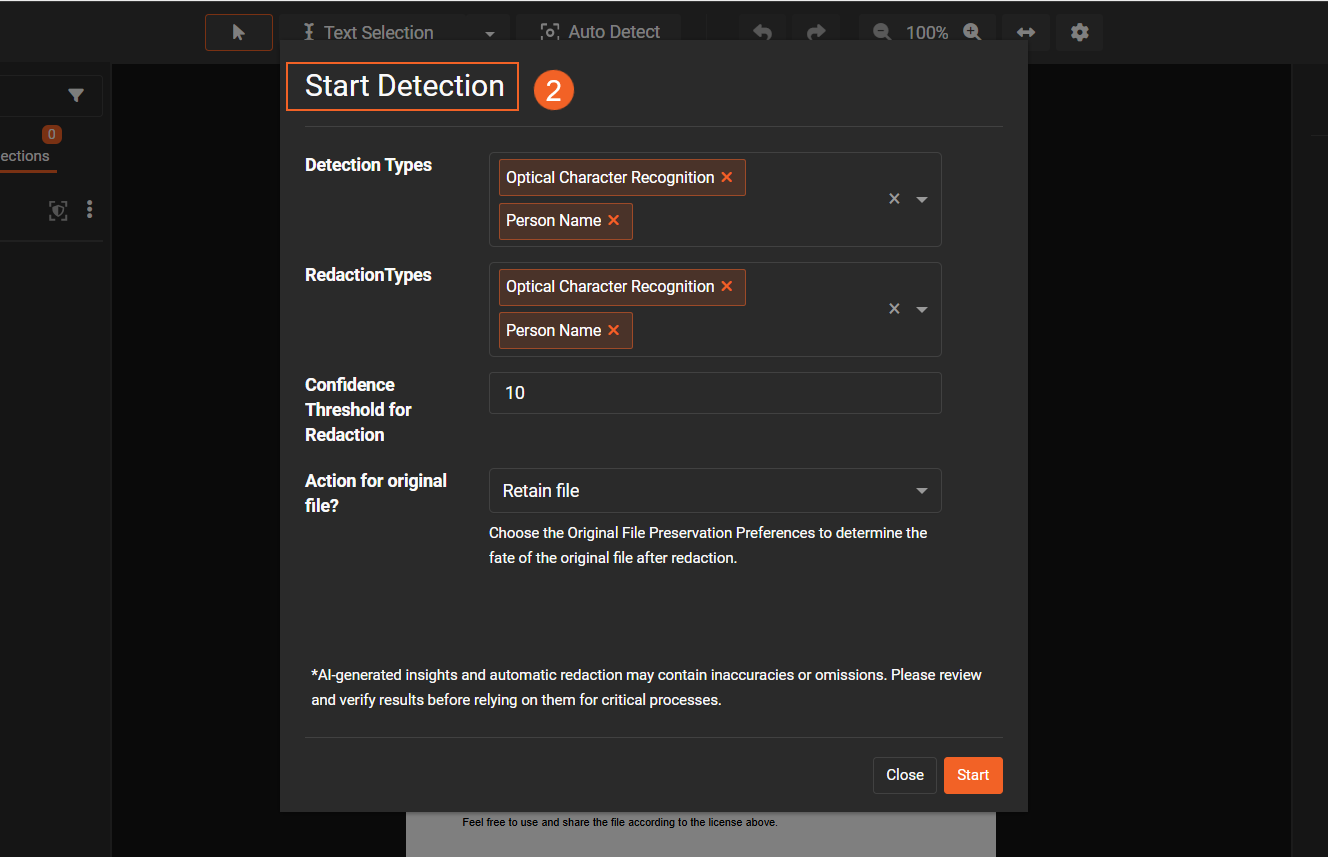
- Select Auto Detect on the Studio toolbar.
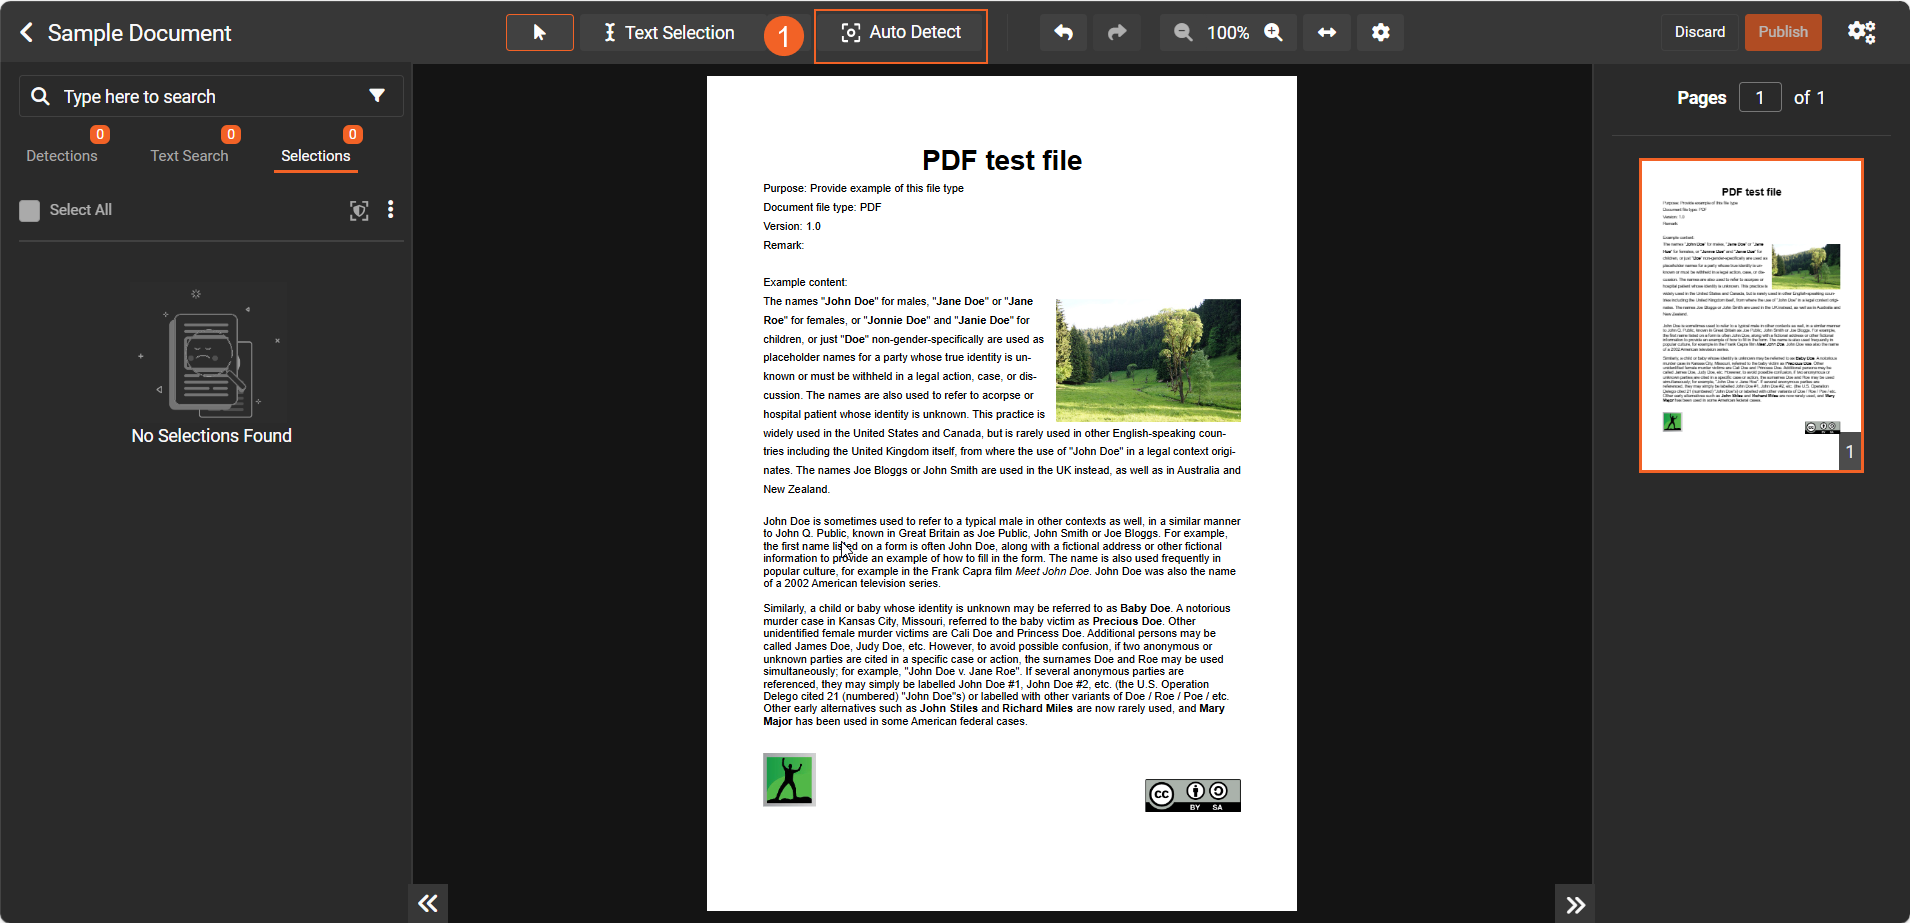
- Choose the Insights you want (for example, PII, OCR, Objects) and select Start to begin processing.
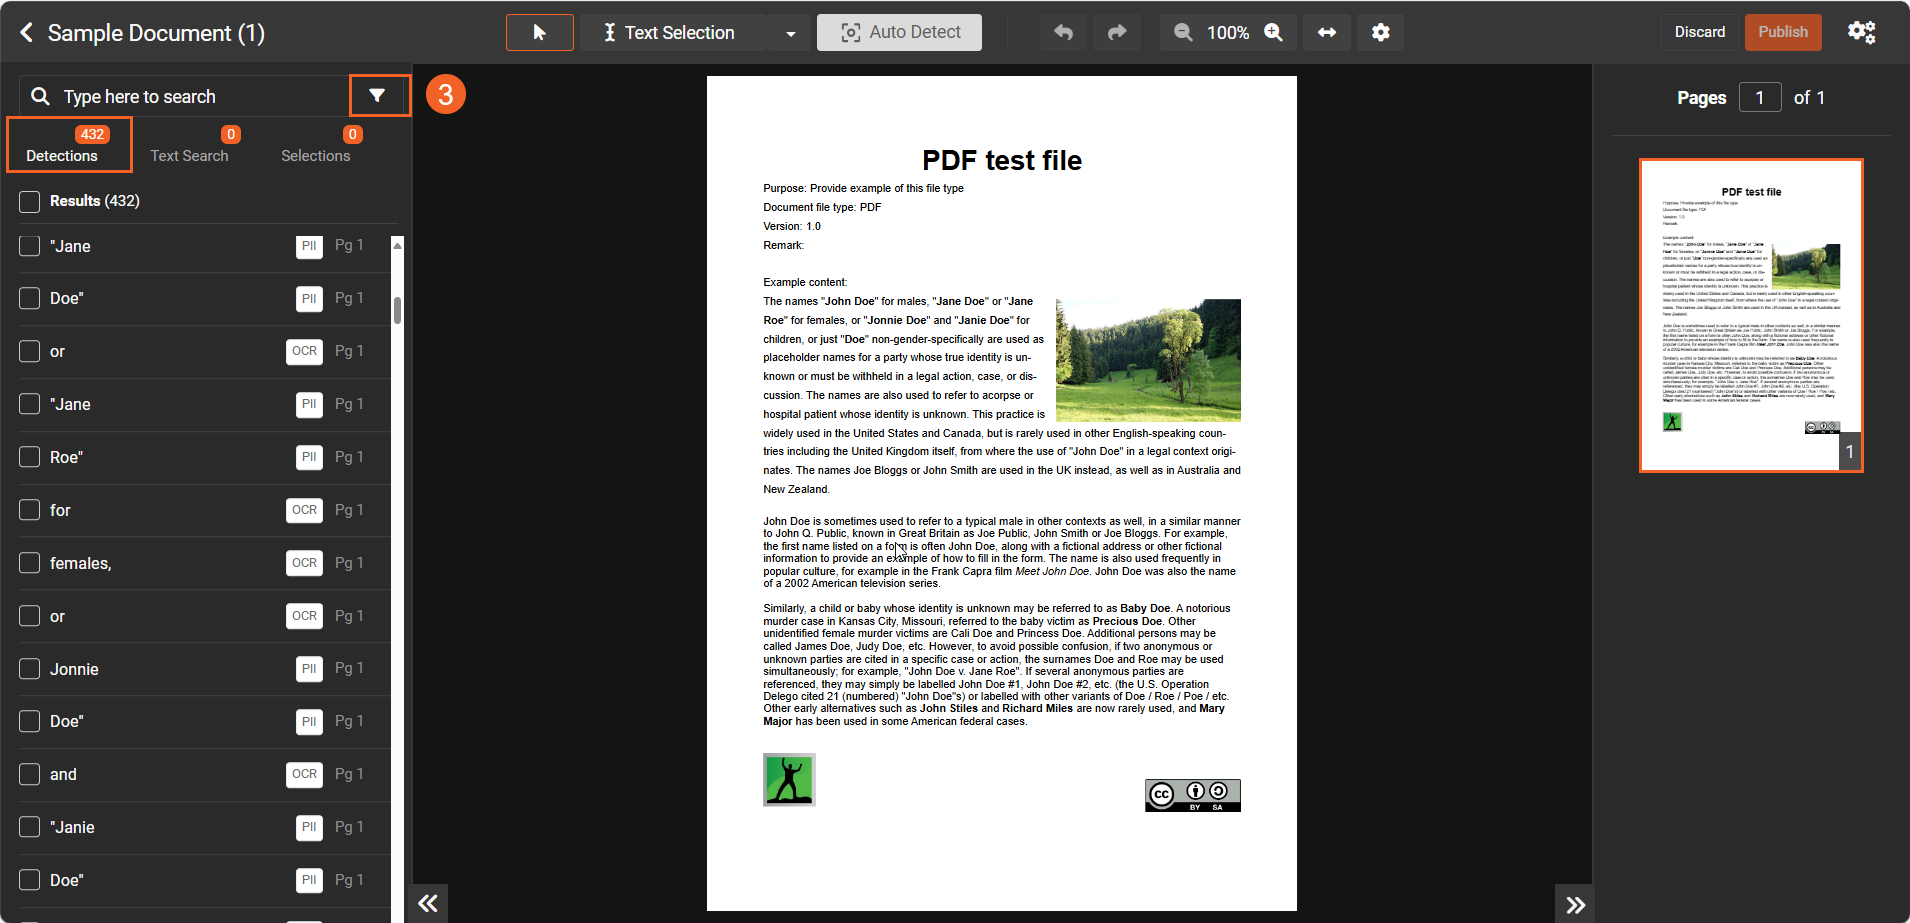
- When detection activity finishes, in the Detections tab in the left pane to review results. You’ll see details such as type and page number.
- (Optional) Use the Filter icon to narrow the list (for example, show only faces or PII).
- (Optional) Select Patterns to run Custom Pattern matches on the now OCRed text. You can also use the Search bar to find terms because OCR has made the text searchable.
-
On the Selection tab, select the items you want to redact, and then select the Redact icon to preview how the redacted items will appear in the document.
-
Select Redact or Redact as new.The redacted file appears in Library, labeled as a redacted.
You’ve successfully redacted sensitive information from your document in Studio Space.